


Here is my tank that I built from wood.

Apparatus (what we need)
- Nails
- Wire
- Hot Glue
- Battery
Method (what we did)
We wrapped wire around nails. Then put glue on the wire to stop the wire moving.
When the glue was dry. We connected a battery to the wires and counted the number of screws the magnet could pick up.
Results (table of numbers)
| Electromagnet | Number of Screws | Length of Electromagnet |
 |
1 | 2cm |
 |
2 | 3.5cm |
 |
4 | 7cm |
 |
27 | 12.5cm |
Conclusion (what did we learn)
Using nails and wire we can make magnets. The bigger the electromagnet the stronger the magnetic field.
by dylan & andrew seaford
Apparatus (what we need)
- magnets
- iron filing
- card board
Method (what we did)
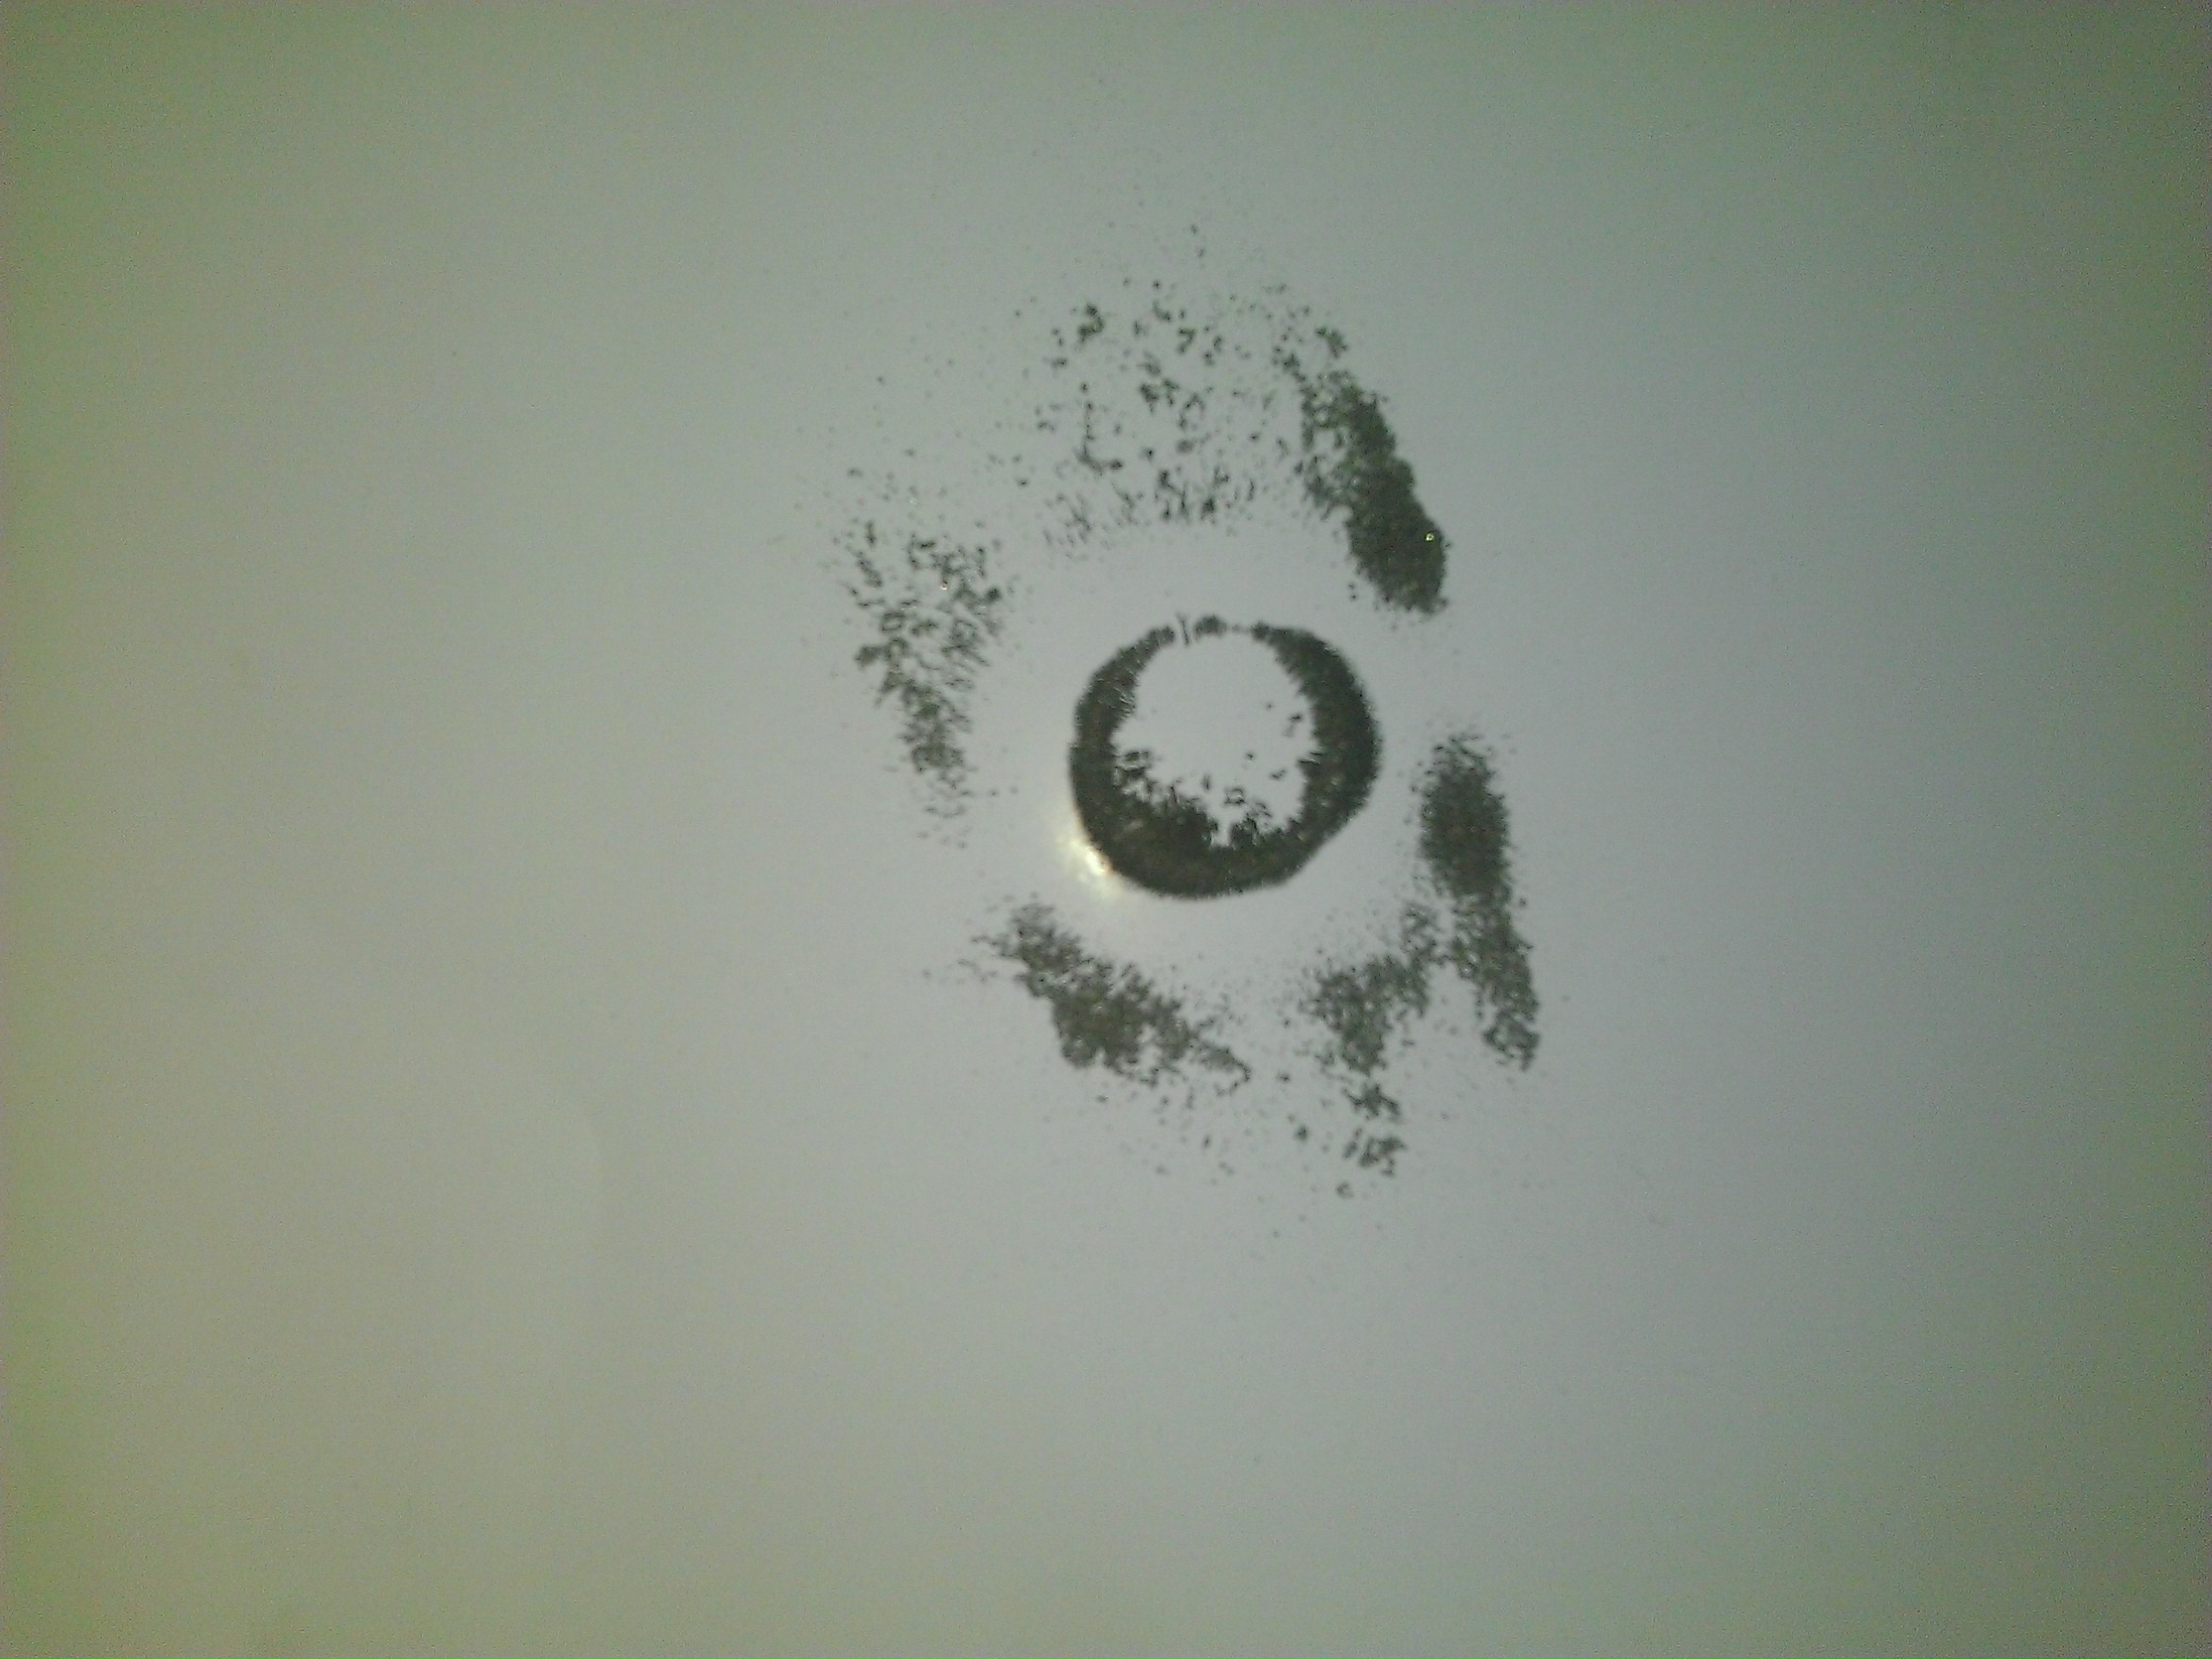
We put a magnet under paper. Then put iron filing over the paper to see the magnetic field.
Then we tested the strength of the magnetic field by counting the number of screws the magnet could pick up.
Prediction (what we think is going to happen)
I though the biggest magnet would pick up more.
Results (table of numbers)
| Magnet | Number of screws | Magnet Size |
|
17 | 2.5cm |
|
39 | 4cm |

|
18 | 2.5cm |
|
5 | 1.5cm |
Conclusion (what did we learn)
The invisible ball around a magnet is called the magnetic field. The magnetic field is strongest near the magnet poles.
The bigger the magnet the stronger the magnet. The smaller the magnet the weaker the magnet.
by dylan & andrew seaford
 Apparatus (what we need)
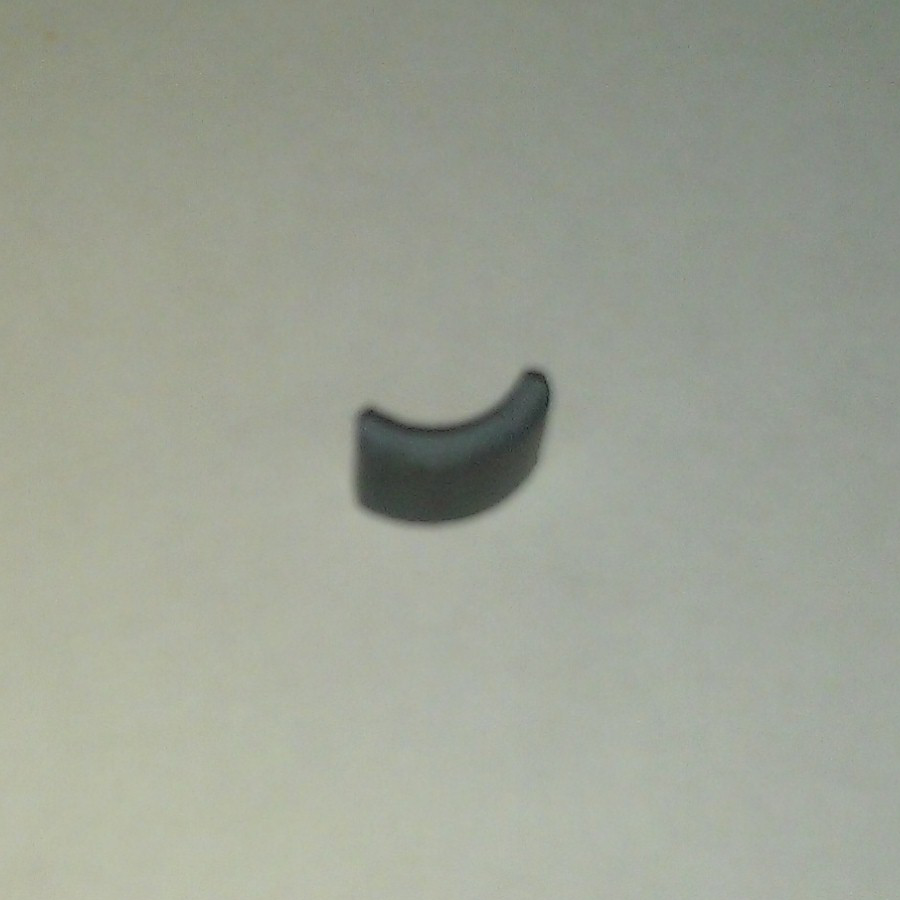
- 2 Capsules
- cold water
- black paper
- white paper
- tape
- sun
- thermometer
Method (what we did)
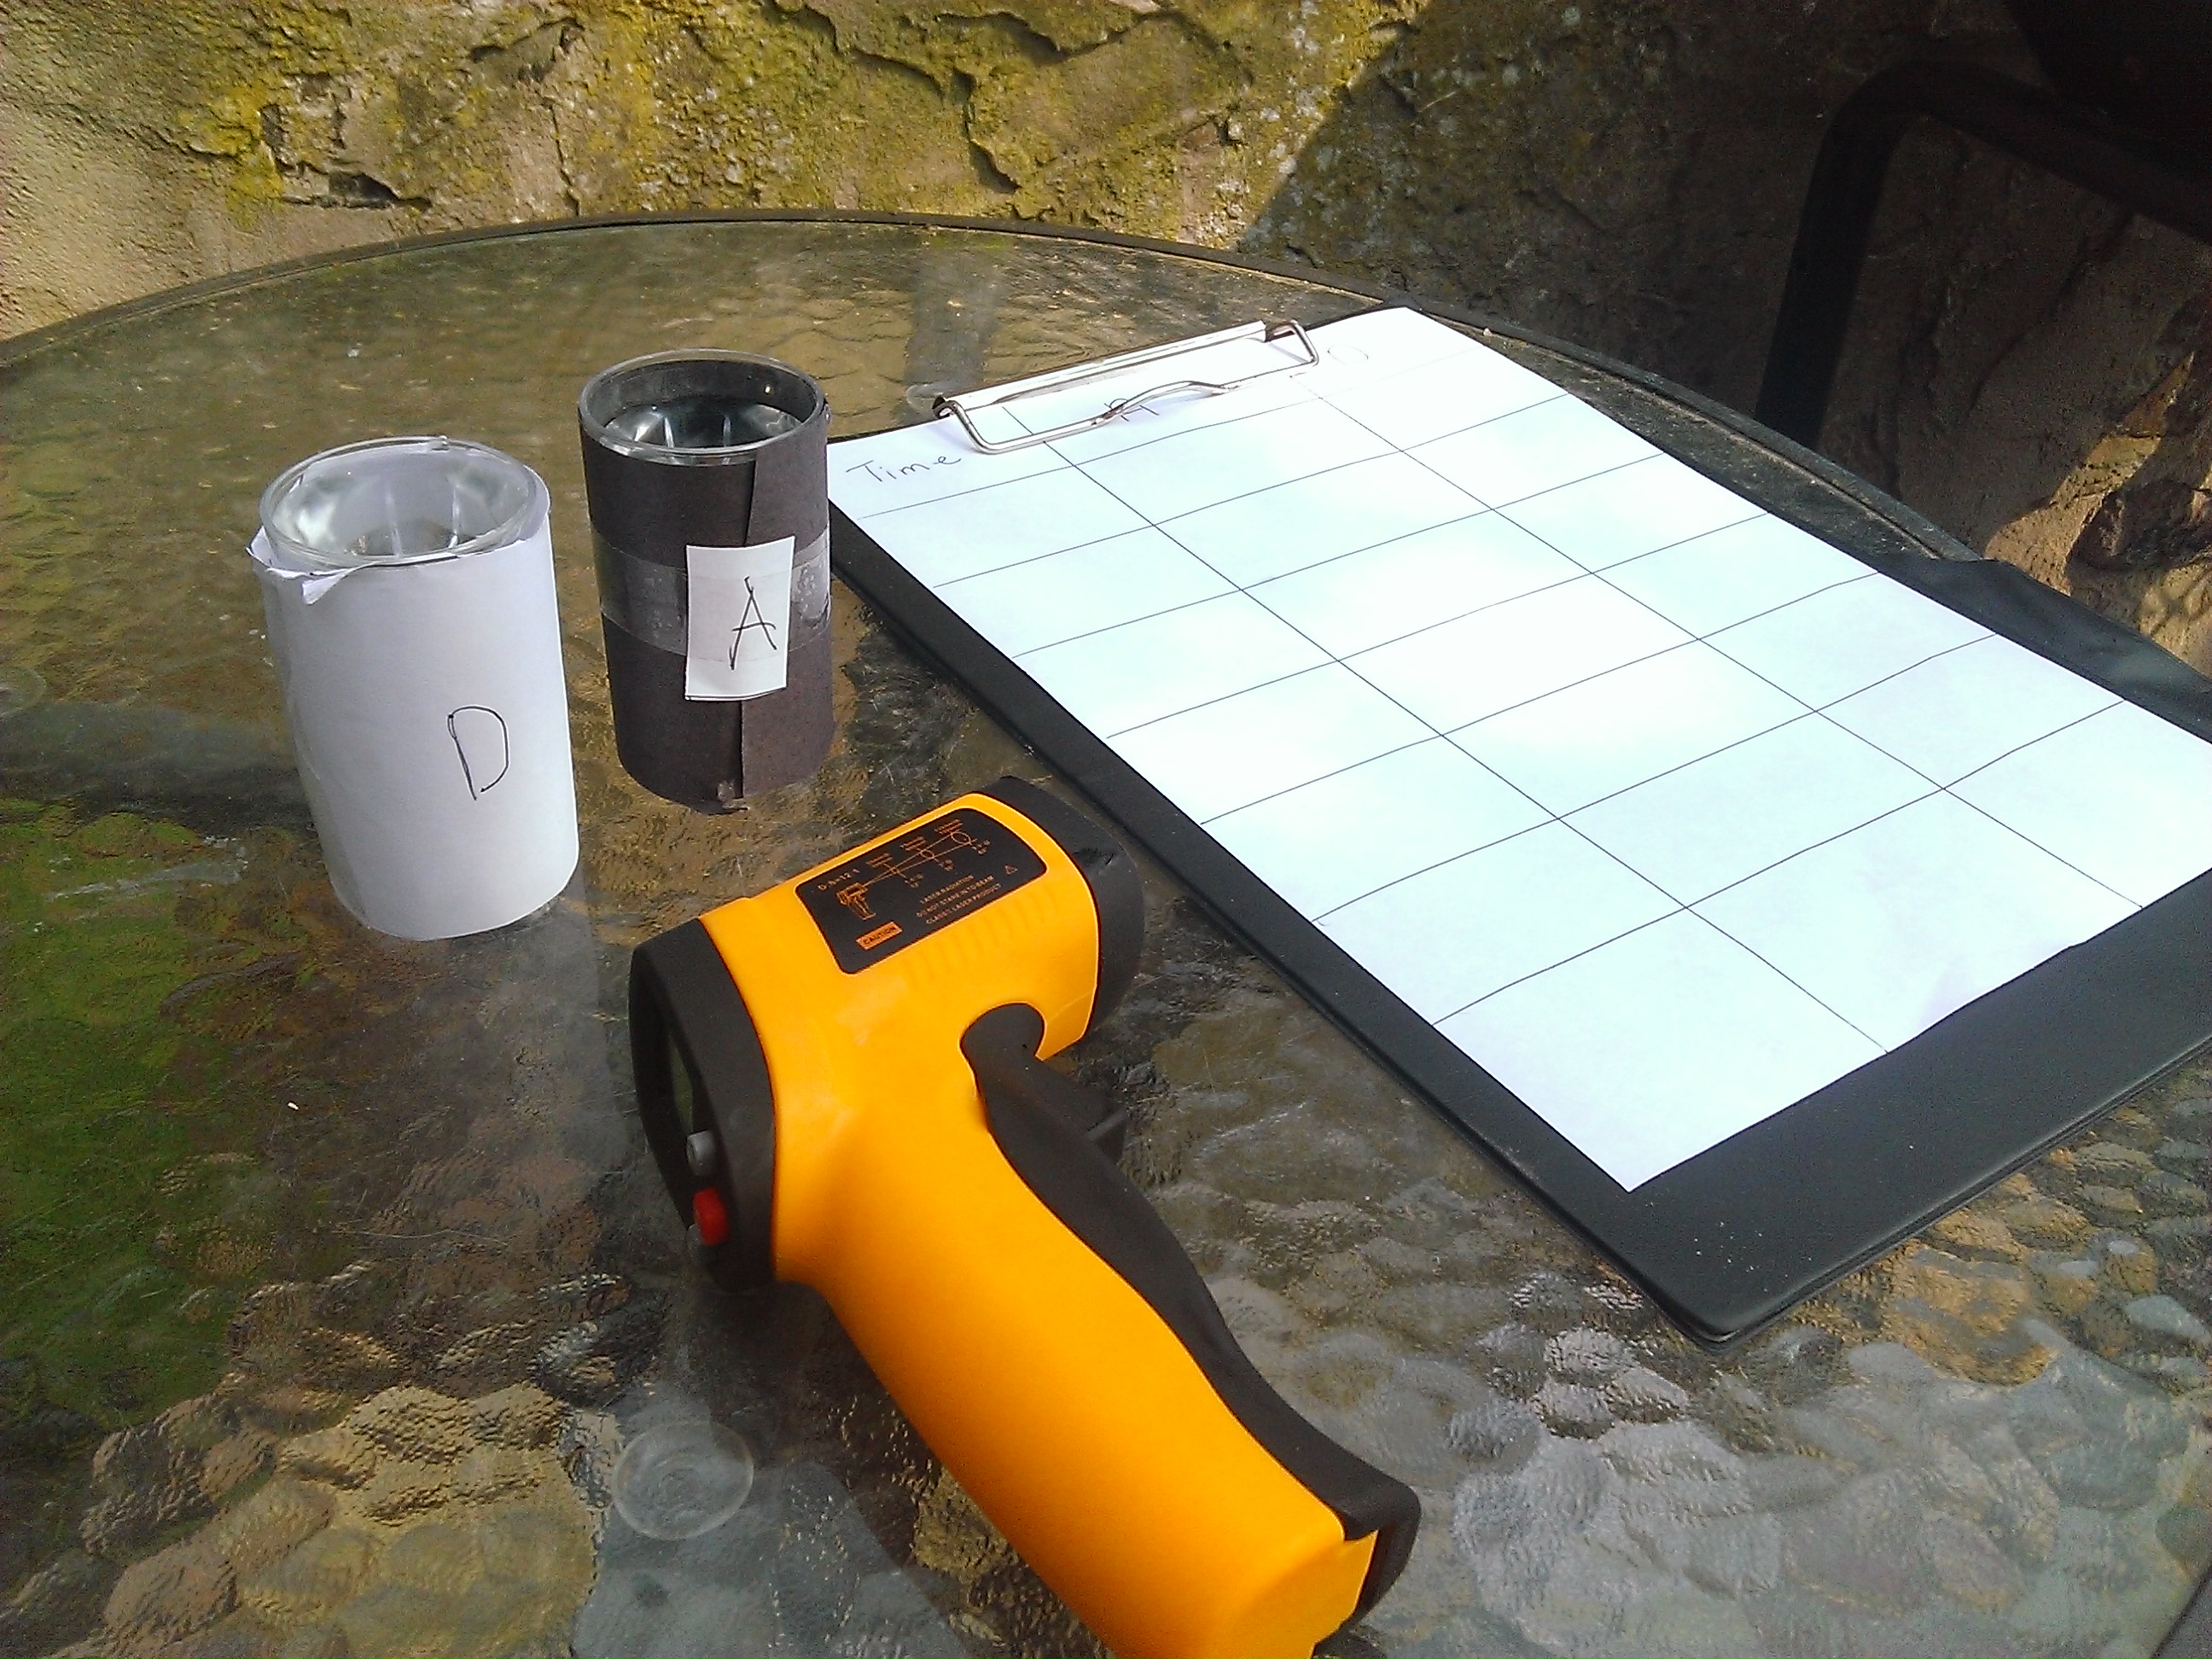
We put white paper around capsule 1 and taped the paper. Then we put black paper around capsule 2.
We filled the capsules with cold water at the same level
.
We left the capsules in the sun and measured the temperature many times.
Prediction (what we think is going to happen)
We thought that white paper would left more sun in.
Results (The data)
The black paper absorbed more sun light than the white paper.
| Time | A (Black paper) | D (White paper) |
| 11:31 | 16.2 | 15.9 |
| 12:33 | 19.3 | 18.3 |
| 1:05 | 14.8 | 13.3 |
| 4:18 | 17.8 | 16.6 |
| 5:15 | 14.8 | 14.9 |
| 6:44 | 13.8 | 13.5 |
Conclusion (what did we learn)
On a sunny day if you want to keep cool you should wear white clothes.
by dylan & andrew seaford
Dylan’s city made from mod rock and plastercean.


| Dylan Christmas Manager. Built by Dylan using balser wood, hot glue and yellow paper | 
|
| In this experiment we learnt how lights work, by building an electric juction box. |

|

Shopping List
Bread
Food Bags

what we did
We cut the bread into four pieces. We put the bread in the food bag’s. Next we put the four bags in four different places around the house. Then we waited two weeks.

What happened
Freezer
The bread in the freezer was frozen. After it defrosted it was soft and could be eaten.
Fridge
The bread in the fridge was cold and hard, with some mould.

Cupboard
The bread in the cupboard was rock hard with some mould.
Kitchen
The bread that was in the kitchen, in the sun light was covered in mould.
Thoughts
The best best places to keep your bread is the cupboard or freezer.

shopping list
1. milk
2. food colouring
3. plate
4. washing up liquid
5. syringe
what we did (written by dylan)
Pour some milk on to a plate. Put a few drops of food colouring in the middle of the plate. Put some washing liquid in the syringe, then drop some washing up liquid into the middle all of the food colouring and watch it go. The name of this process is called Diffusion!
Science Explanation (written by dad)
The washing up liquid acts as a degreaser separating the fat molecules in the Milk. Because the Milk has a low surface tension the fat molecules can easily be split. As the molecules are split it causes a motion which creates the swirling of the colours.

|

|
|
|
|
|
|
|


Shopping List
To make a bug catcher you will need, these things
1. a glass jar with a lid
2. hot glue gun
3. two pastic pipes that are the same size
4. small piece of material
5. elastic band
6. electric tape
7. drill
Building Instructions
To make the bug catcher. First we drilled two holes the size of the pipe in the lid. second we push the pipes in the holes. Then we use hot glue to fix the pipes in place. Afterthat we took the lid of the jar. We put the small piece of material, we use an elastic band to hold it onto the pipe. We screwed the lid back on. Then we put tape on one of the pipes. The end of building.
Using Instructions
Find some bug, put the pipe above the bug and then suck on the other pipe. The bug will be sucked into the jar.
Have fun with your bug cathers, i hope you will have fun.